Quick and Dirty Nadir Patch
There are several possibilities to cover the black hole or tripod area at the bottom of your panorama after stitching. You can easily create a round disk in Adobe Photoshop that looks like a mirror ball and even add text or a logo. Another possibility is to remove the tripod when shooting your panorama and take an image of the nadir that you can later include when stitching in PTGui. This will however take considerable extra time and I will show you a quick and dirty method to achieve almost the same result in much less time.
An important tool and Swiss Army knife for every PanoWalker is KRPano Tools. This article shows how you can patch your nadir (Black hole or tripod area at the bottom) in a few seconds using KRPanoTools and Adobe Photoshop.
This method will work better if there is no significant pattern in your nadir area. So if you have a chance to move your tripod slightly to a more suitable spot it will make life a lot easier for you.
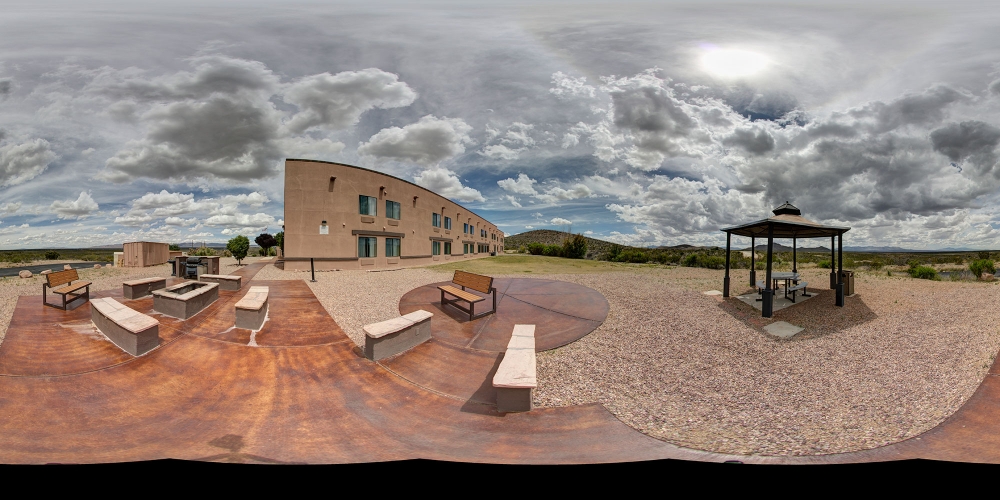
Here is an example image after stitching with PTGui which we will try to patch.
Download KRPano Tolls and unzip the archive to your Computer to a location of you choice.
Open the KRPano Folder and also open the folder with your spherical Image. Drop your spherical image onto the KRPano SPHEREtoCUBE Droplet.
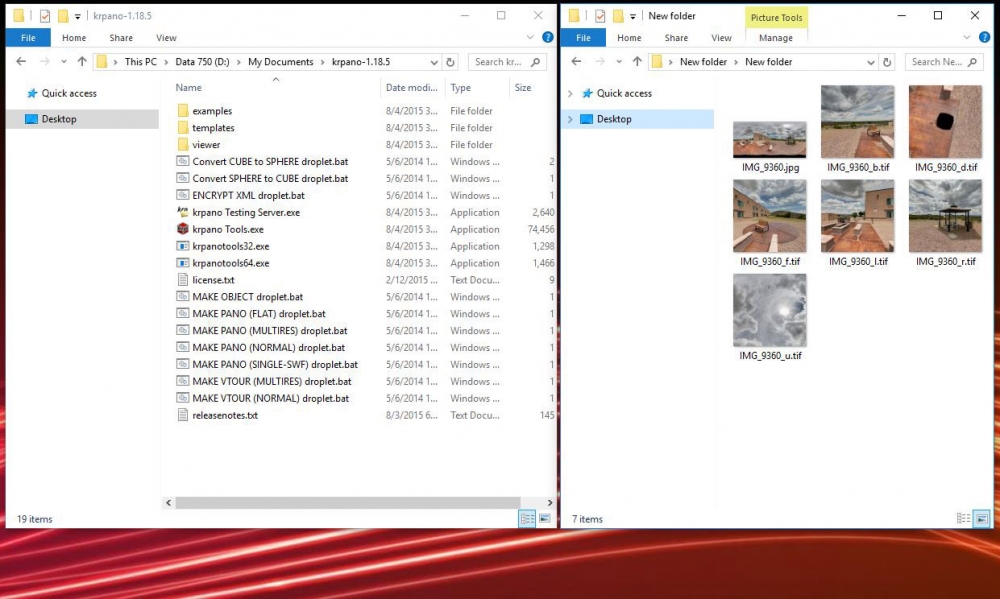
Open the down view cube image with Adobe Photoshop and select the Patch Tool and draw a line around the unwanted area. Then select Edit and “Fill /content Aware” or press “Shift + F5”. Use the patch tool to remove any areas that are not properly patched. Add this point you can also add a small logo to your nadir area. Save your image, and close Photoshop.
Select All 6 Cube Images and drop them onto the CUBEtoSPHERE Droplet.
Voila, you nadir is perfectly patched without an extra image to shoot.
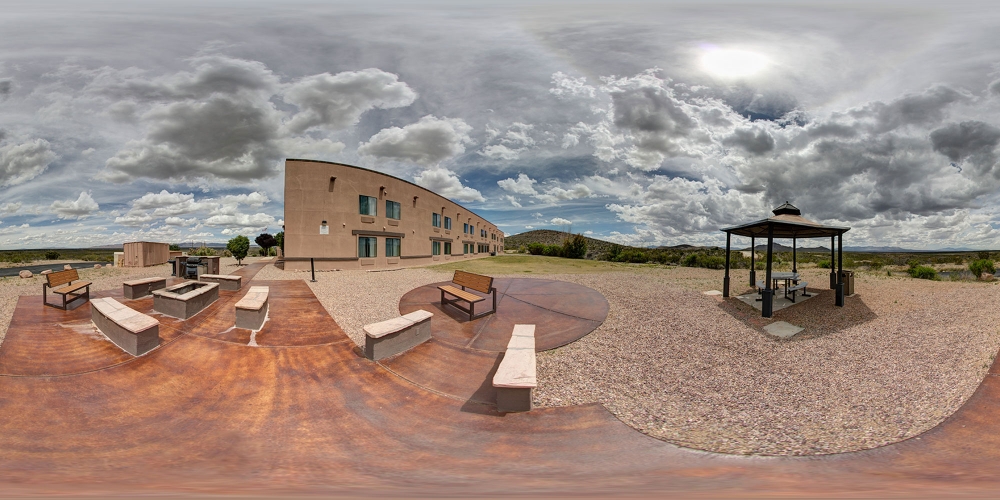
To check your 360 panorama drop your new spherical image onto the MAKE PANO droplet, or drop multiple images onto the MAKE VTOUR droplet and wait a second until your Virtual Tour is ready.
Now you could transfer the complete folder that is generated by KRPanoTools to your web server. But off course you want to upload your new images to Google Maps Street View to further process with PanoWalks.

